There are several ways to create new assets in CELUM Content:
Manually upload them in the Explore View
Programmatically via API
Via CELUM Drive
You can upload assets to CELUM Content in three different ways:
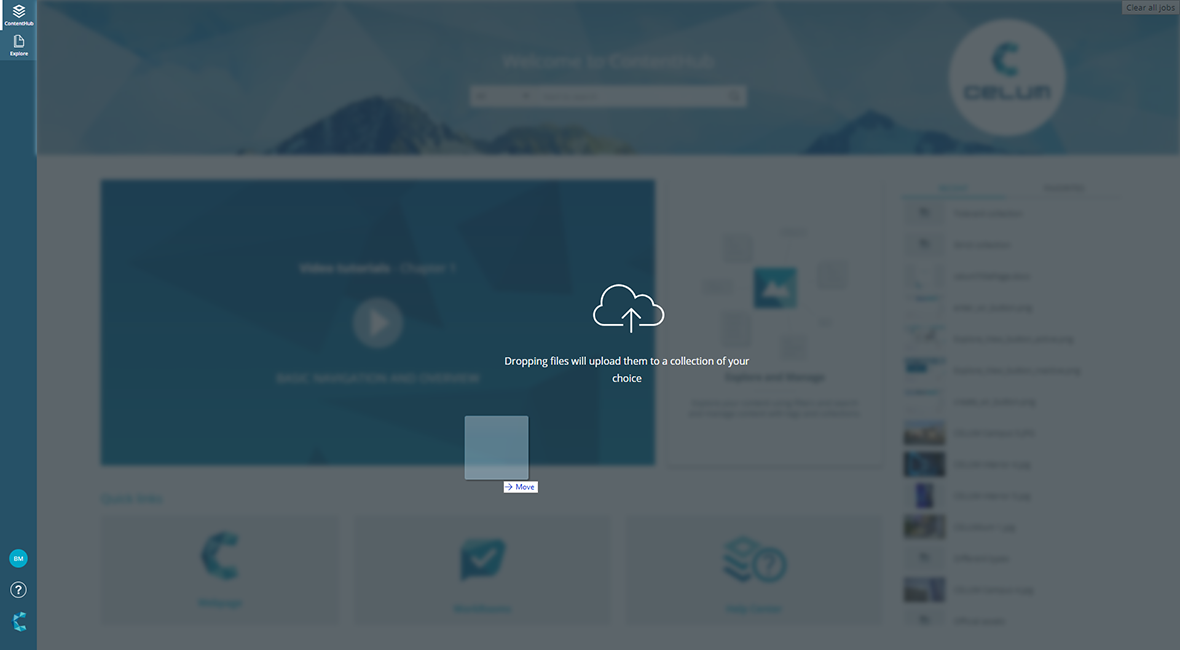
Via drag and drop on any view of the application, e.g., on the Dashboard or in the Explore View
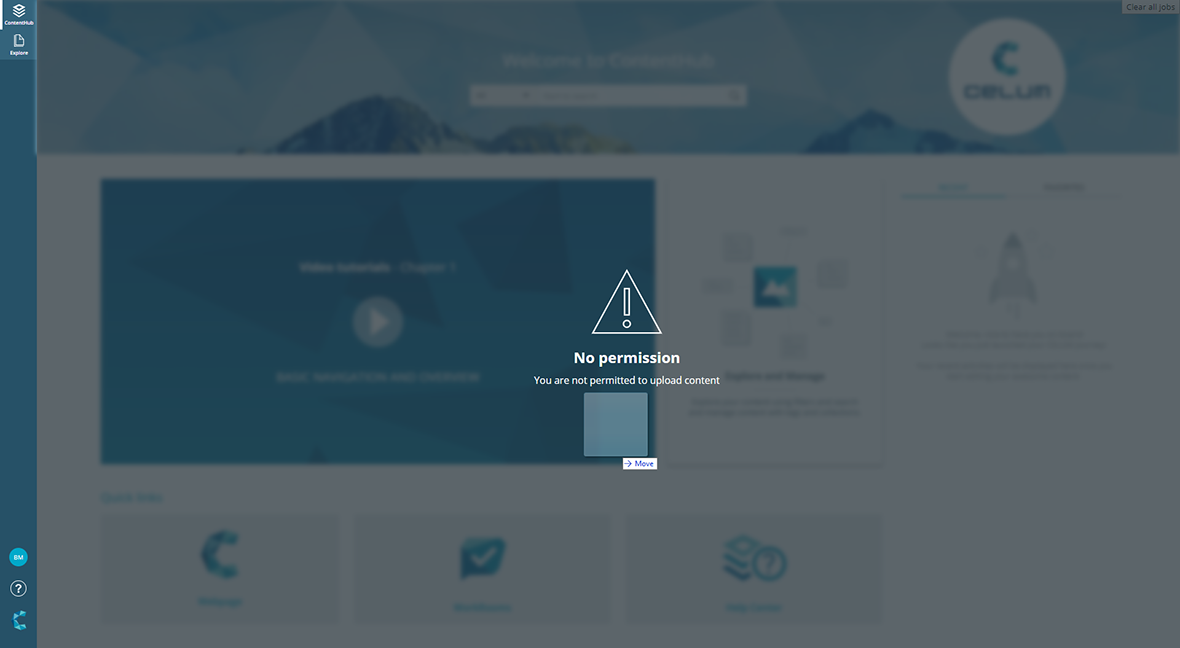
The drag and drop upload depends on your global upload permission as well as the local permission "Add assets" (if you have selected a collection). You get immediate feedback from the application when dragging assets onto it:
 |
 |
Via the upload widget on the Dashboard
The upload widget is only available if you have the global upload permission.
Via the "Upload assets" direct action in the Explore View's action area and magic menu
The direct action is only available if you have the global upload permission as well as the local permission "Add assets" (if you have selected a collection).
The general process for uploading is the same for every method:
If upload is possible, start the upload with one of the upload methods.
If you haven't selected a specific collection in advance (or have selected a non-permission-defining collection), a collection picker dialog opens.
On the right side of the dialog, choose a target collection to which you will upload the assets.
Upload is only possible to permission-defining collections, therefore, you can only browse through permission-defining collection types on the left side of the dialog.
Collections can either be permission-defining, which means the permissions for assets are set on their parent collection, or non-permission-defining, which means that the parent collection has no influence on assets' permissions. See The CELUM Content permission system for more information.
Click "Upload" once you have chosen a target collection.
In the lower left corner of the application, a progress snackbar shows the upload status:
If the duplicate check has
detected that one or more of the uploaded assets already exist
as assets in your CELUM Content,
you must first resolve
the duplicates before you can finish the upload:

If you've chosen a collection with tolerant metadata
validation, you can finish the upload
directly in the snackbar or optionally manage the new assets' metadata
in the upload wizard (same functionality as the metadata
wizard):

If you've chosen a collection with strict metadata
validation, you must next manage the new asset's
metadata in the upload wizard (same functionality as the metadata
wizard) before you can finish the upload:

Metadata validation describes the way in which the metadata of a collection and the assets within are validated. There are two types of metadata validation for collections – strict and tolerant. You can only upload assets to a strict collection if all required asset information fields are filled. The asset's metadata status doesn't matter for tolerant collections.
Depending on the available buttons in the snackbar, you have the following options for continuing the upload:
If duplicates are found, click "Resolve
duplicates". The upload wizard
opens on its first step:
See the topic "Resolve duplicate assets" for instructions for that step of the upload wizard.
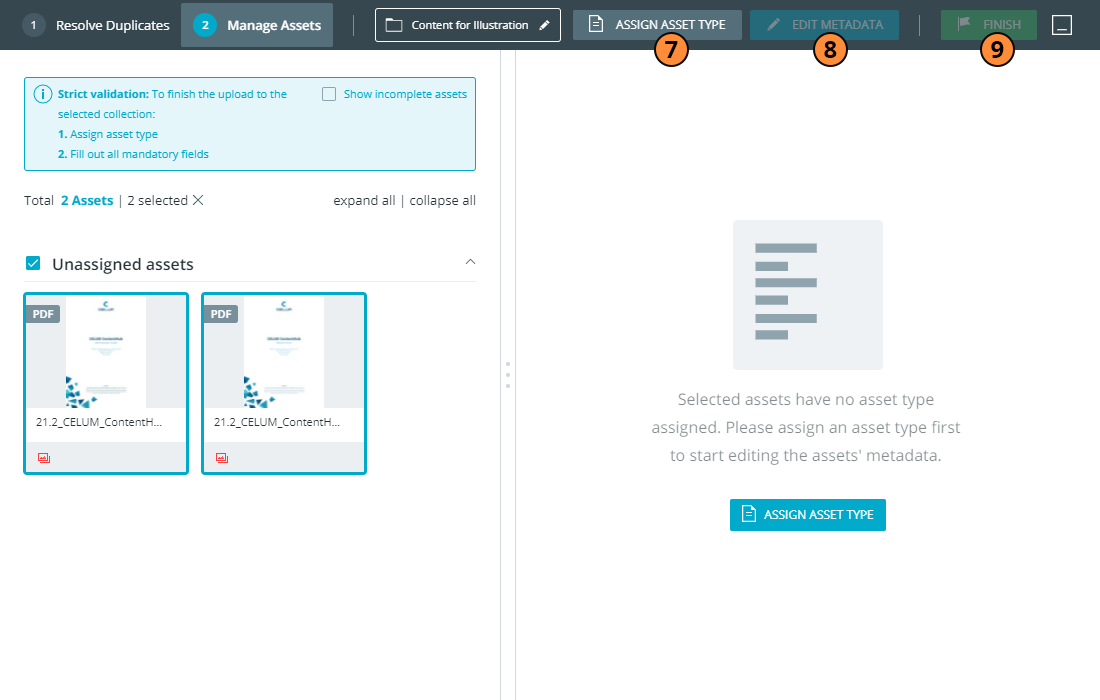
If no duplicates are found, click "Manage" in the snackbar. The upload wizard opens on its second step:

If you've uploaded to a strict collection, you must manage the metadata in order to conclude the upload. If you've uploaded to a tolerant collection, managing is optional.
Assign an asset type to your newly uploaded assets to associate a set of metadata with them (7).
Edit the assets' metadata and add at least the values for all mandatory metadata (8).
Once you have filled the new assets' mandatory metadata,
finish the upload with the "Finish" button (9).
If you don't have permissions to edit all mandatory fields, you can't finish the upload. Therefore, in the second step, you may need to choose either a different asset type or a different target collection:

CELUM offers a powerful REST API which allow you to create new assets programmatically or to allow your own customers to create assets via self-developed extensions.
Also available is the Nova API, which is specifically suited for developing Nova extensions.
You can find information on how to develop against the CELUM APIs in the Customer Knowledge Base.
Nova API documentation is integrated into CELUM Content. To access its specification, please open the CELUM Content Server URL using the following:
<CELUM Content base URL>/main/nova-app/storybook/index.html
<CELUM Content base URL>/main/nova-app/docs/nova-api/index.htm
Synchronizing a collection with CELUM Drive will equally synchronize all assets inside. You can create new assets directly inside the CELUM location on your local file system and they will be uploaded as new assets.
Further information
The topic Synchronize with CELUM Drive explains how to start the CELUM Drive sync in CELUM Content.
The CELUM Drive online help contains further information on how to manage the CELUM Content sync.
Next steps:
After you have uploaded the assets, you can assign or switch their asset type to them or edit their metadata.